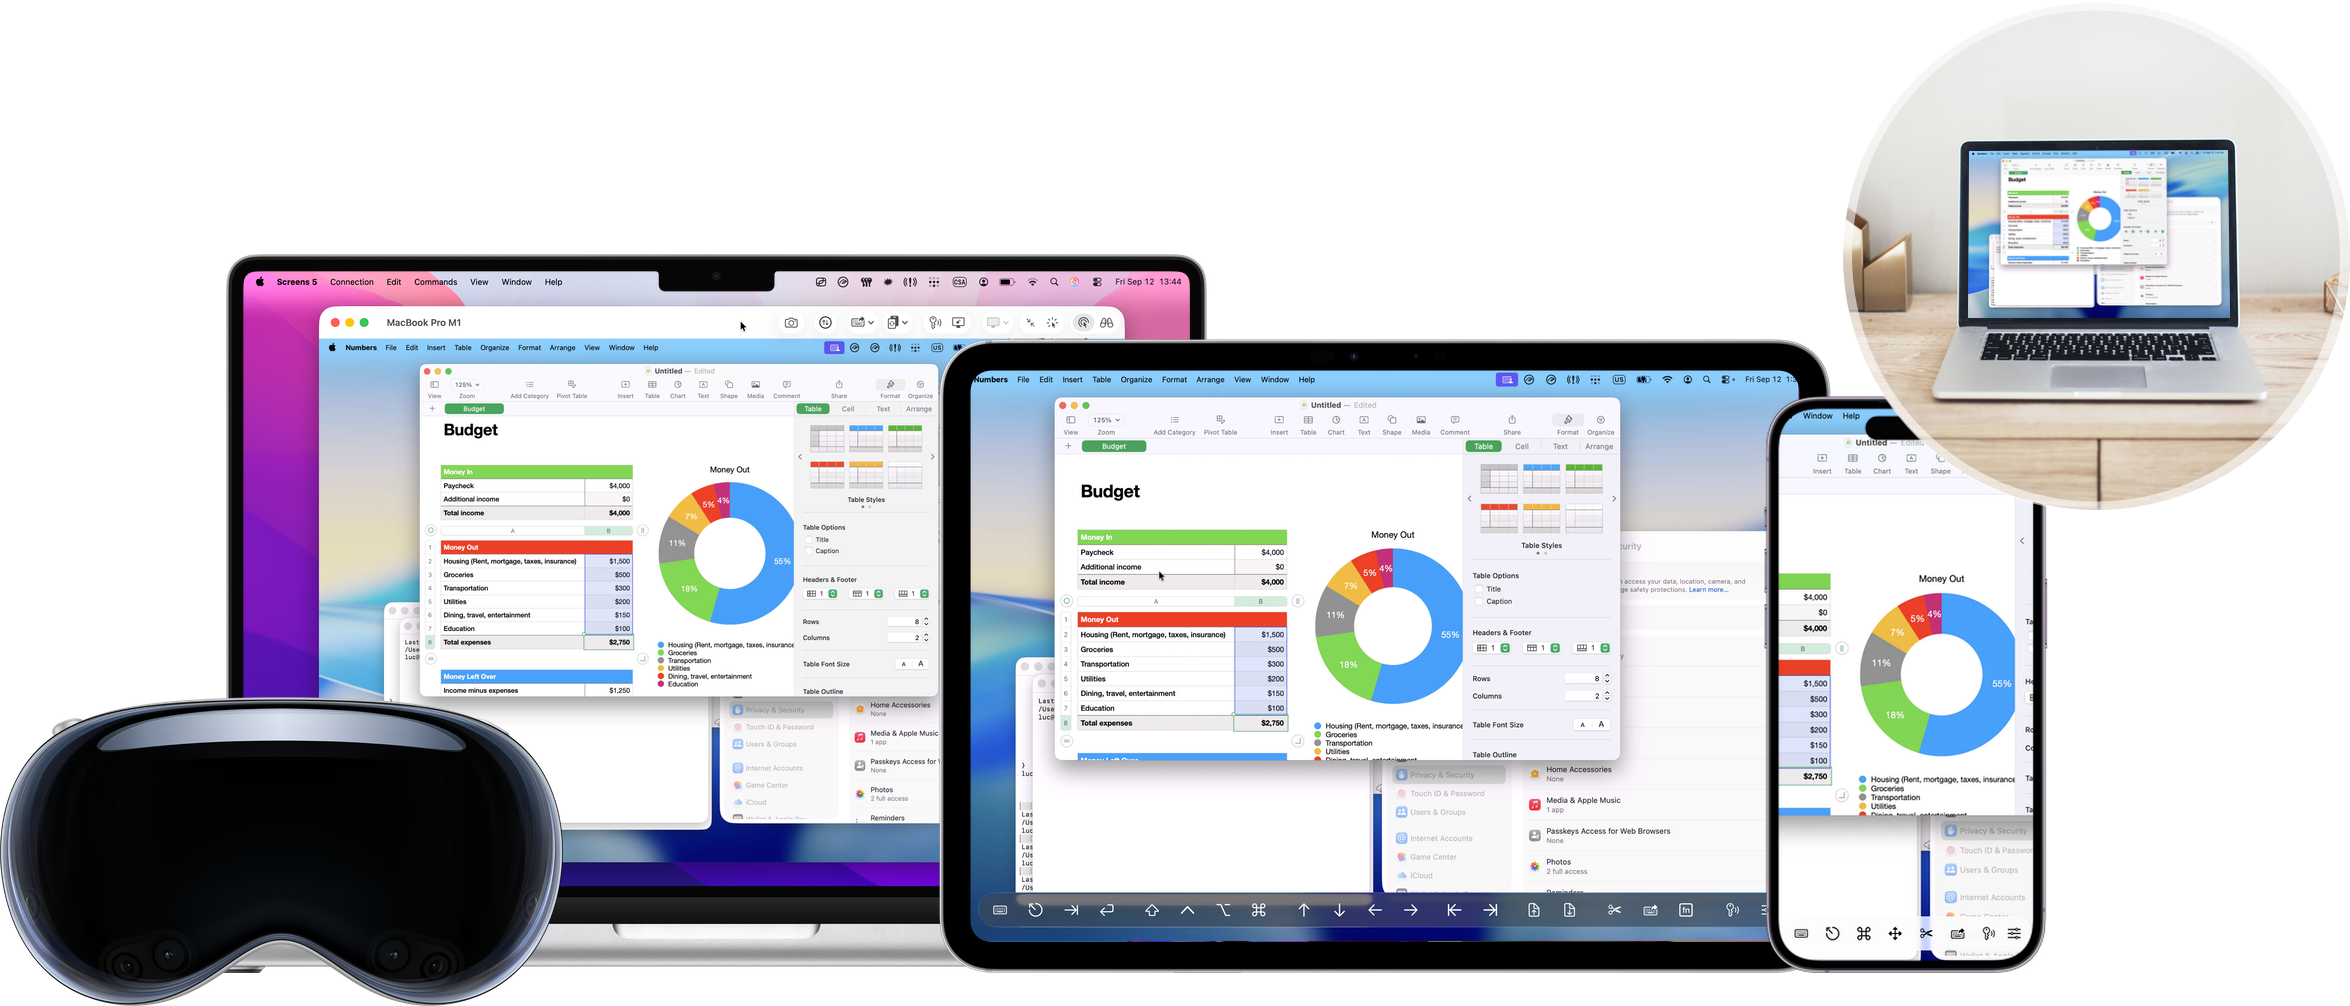
Screens 5 lets you securely connect to and control your computers from your Mac, iPhone, iPad, or Vision Pro — whether you're at home or away.
If you're upgrading from an earlier version of Screens, you'll notice that the Library is now organized into multiple sections. This article explains what each section is for and helps you decide which set-up works best for you.
Library Sections
In Screens 5, connections are organized into the following sections:
Links
The Links section contains temporary or shared connections created using:
These are ideal for quickly connecting to another computer without creating a permanent entry in your Library.
Nearby
The Nearby section displays computers available on your local network.
On Macs, Screens automatically detects computers where Screen Sharing or Remote Management is enabled.
On Windows PCs, Screens Connect advertises the computer so Screens can discover it automatically.
Nearby connections are perfect when you're at home or in the office and want to connect quickly without additional setup.
Screens Connect
The Screens Connect section lets you access your Mac or Windows PC from anywhere.
Simply create a free Screens Connect account and install Screens Connect on your computer.
Screens Connect handles local and remote connectivity automatically, making it the easiest set-up for most users.
We recommend this option if you want reliable access to your computers both at home and while away.
Tailscale
The Tailscale section lets you access computers connected to your Tailscale network.
Tailscale works especially well on networks where traditional remote access methods may not work properly, such as:
- Networks without UPnP support
- Carrier-Grade NAT (CGNAT)
- VPN-connected networks
Tailscale also supports Linux and Raspberry Pi, making it a great option for mixed-platform environments.
If you already use Tailscale, Screens can automatically display your devices starting with Screens 5.3.
You can create a free Tailscale account here. For set-up instructions, refer to this article.
Custom Screens
The Custom Screens section lets you create manual connections using:
- IP addresses
- Hostnames
- Custom ports
- Custom URLs
This option is ideal for advanced or specialized setups.
If you migrated from Screens 4, your existing connections will appear here automatically.
Groups
You can create groups to organise your Screens Connect, Tailscale, and Custom Screens items.
Groups are useful for organizing computers by:
- Home
- Office
- Clients
- Family members
- Servers
Recommended Setup
For most users, we recommend using either:
- Screens Connect for the easiest local and remote access experience
- Tailscale if you already use it or need support for Linux or more complex networks
Next Steps
To get started, configure your computers for remote access.
You can find set-up guides in the Getting Started section.