Screens Connect is a free utility that makes your Mac reachable remotely so you can connect to using Screens for iOS, Mac, and Vision Pro.
The utility launches at boot time in order to ensure that your Mac is reachable at all times, even after a reboot.
Instructions
Download Screens Connect here.
Double-click to launch.
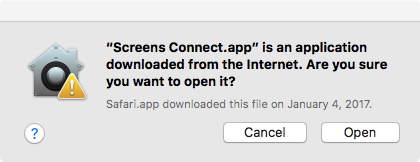
When macOS prompts to open the app file, click Open:
You will then be asked to move Screens Connect to the /Applications folder:
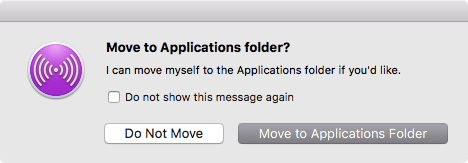
Respond to the prompt offering to move Screens Connect to the /Applications folder. Due to security restrictions introduced with macOS Sierra, this is mandatory for automatic application updates. We recommend this location for all users, regardless.
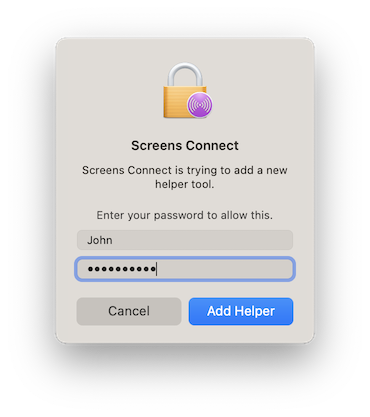
Screens Connect will also prompt to to install a helper tool, which is required in order for the utility to work:
Then, follow the on-screen Welcome Guide to complete set-up:
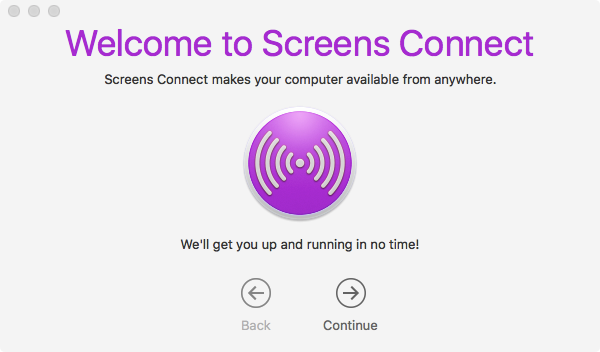
- Sign in or sign up
- Enable required macOS services
- Check router status
Establishing and Testing a Connection
With Screens Connect installed and set up, you’re ready to launch Screens 5 and connect to your computer. Before relying on remote access, we highly recommend testing your connection to ensure everything works as expected before leaving your Mac unattended.
How to Test Your Remote Connection
- On your iPhone, turn off Wi-Fi.
- If you're using a Mac, iPad, or another device without mobile connectivity, connect it to your iPhone's personal hotspot to simulate a remote connection.
- Open Screens 5.
- Go to the Screens Connect section.
- If you're not already signed in, please do so.
- Select your Mac to initiate a connection.
If the connection is successful, your remote set-up is ready to go! For more details on establishing a connection, refer to this article.
Stopping or Uninstalling Screens Connect
Click the Screens Connect icon to display the menu:
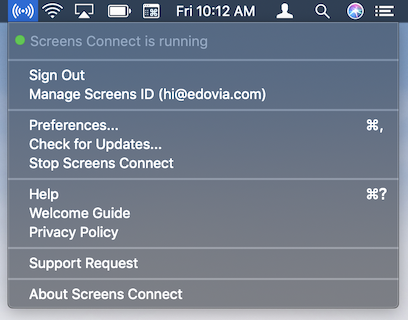
Click Stop Screens Connect.
This operation will make your Mac unreachable remotely. Make sure to launch Screens Connect in the future if you need to connect to your Mac remotely.
Note: Older versions may not include this feature. In this case, download our uninstallation tool.