Screens Assist 2 is recommended for macOS 12.4 or later.
For macOS 10.13 to 12.3, we recommend using Screens Assist 1.6 instead.
Install Helper Tool
Screens Assist can install a helper tool that makes the app even easier to use by handling certain steps automatically.
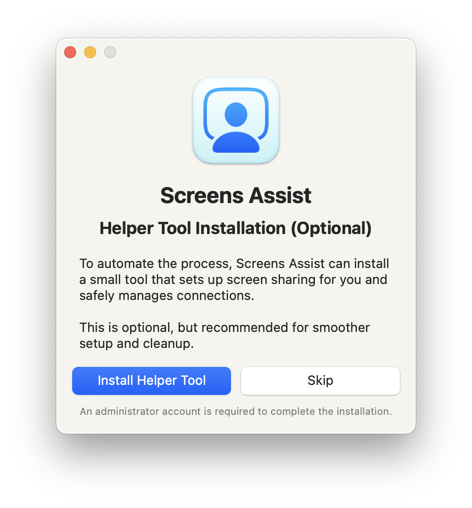
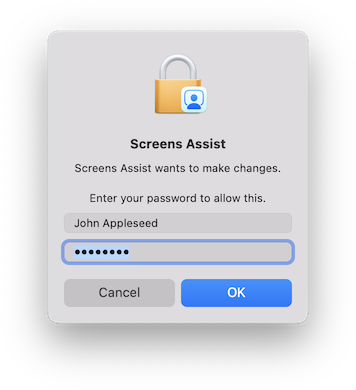
This step is optional, but it does require administrative privileges.
Enable Screen Sharing
To allow remote connections to your Mac, Screen Sharing must be enabled. Since macOS 10.14, Apple requires that users perform this step manually. Screens Assist will walk you through the process with clear, step-by-step guidance.
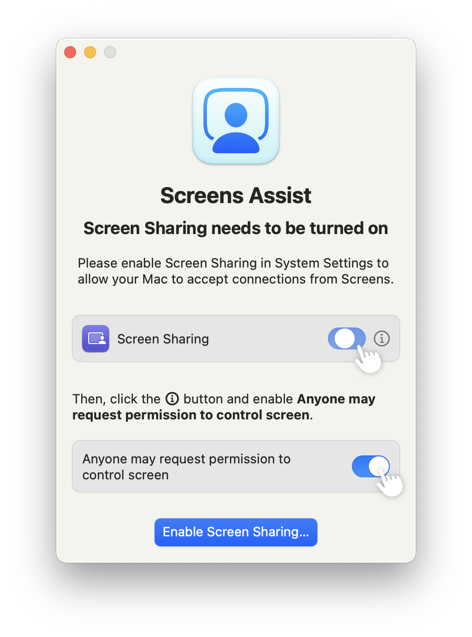
If the helper tool is installed, it will automatically enable the option "Anyone may request permission to control screen" and will also ensure that both this option and Screen Sharing itself are turned off once the session ends.
If the helper tool is not installed, you’ll be prompted to perform these actions manually.
Share Link and Wait for Connection
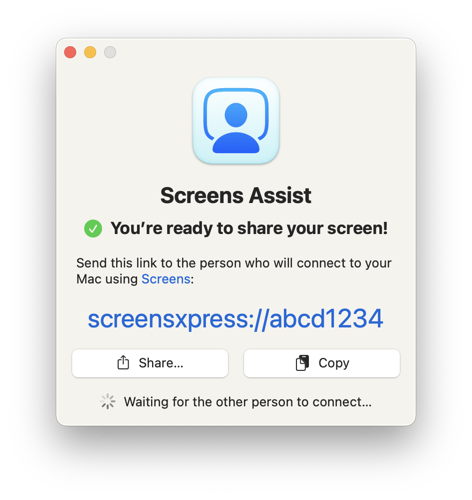
Once set-up is complete, simply share the connection link with the person you want to allow access to your Mac. They’ll need to use Screens, our remote desktop client, to connect.
Allow the Screen Sharing Request
When the other person opens the link in Screens, you’ll see a screen sharing request:
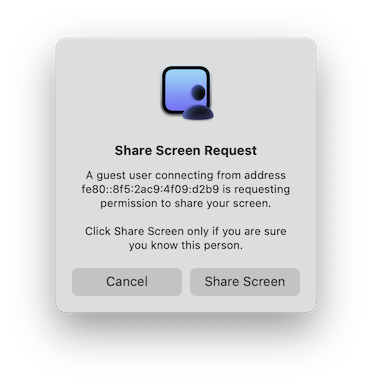
Click Share Screen to accept and start the session.
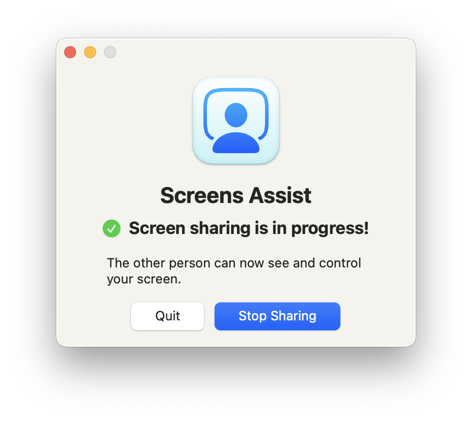
Connection in Progress
Once the other person is connected, you can end the session at any time.
If the helper tool is installed, just click Stop Sharing to immediately terminate the connection.
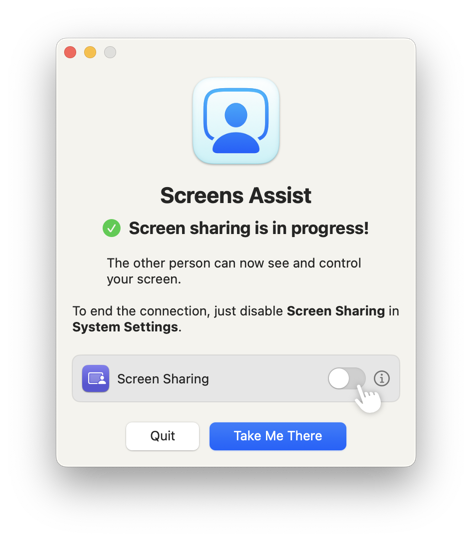
If the helper tool is not installed, you can end the session by turning off Screen Sharing in System Settings. Screens Assist will guide you through this step.
Closing Screens Assist
When you quit the app, the helper tool (if active) will restore your Mac to its previous state, including disabling any options it enabled during the session.
If the helper tool is not installed, you’ll need to manually disable Screen Sharing from System Settings if you no longer wish to keep it enabled.