What is a Screens ID?
A Screens ID is a unique identifier used by Screens and Screens Connect that makes your registered computers (Macs & Windows PCs) remotely accessible.
In order to link Screens and computers where Screens Connect is installed, you need to use the same Screens ID everywhere. This is how Screens is able to find your computer(s) remotely.
Note: Your Screens ID does not store usernames and passwords, and is not a substitute for the authentication credentials required to log into any given computer. Remote log-in credentials are stored in the Apple Keychain on your iOS device and/or Mac.
Creating a Screens ID
You can create a Screens ID while installing Screens Connect or at https://screensconnect.com. Only an e-mail address and password are required.
Managing your Screens ID
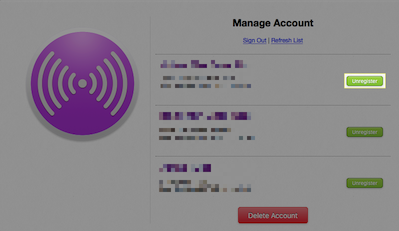
Your Screens ID stores entries for each computer you installed Screens Connect on. It's sometimes advisable to visit our Screens ID management page to clean up any incorrect or outdated entries. To remove an entry, simply click its green Unregister button.
Deleting your account
You can also delete your account from this page.
Changing your Email address
It's not possible to change the email address associated with your Screens ID; a new account must be created. We suggest the following procedure:
- Log out of your Screens ID in all Screens and Screens Connect installations.
- Log into our Screens ID management page and delete the account.
- Create a new Screens ID with your preferred e-mail address.
- Use your newly created Screens ID in Screens Connect and Screens.
Signing In
Your Screens ID is what links Screens and Screens Connect together. In order to be able to connect back to your computer remotely, make sure to sign in with your Screens ID in:
- On the Macs you'll be connecting to
- On the Windows PCs you'll be connecting to
- On the iOS devices you'll be connecting from
- On the Macs you'll be connecting from
On the Macs you'll be connecting to
First, make sure that you've installed Screens Connect on the Macs you'll be connecting to.
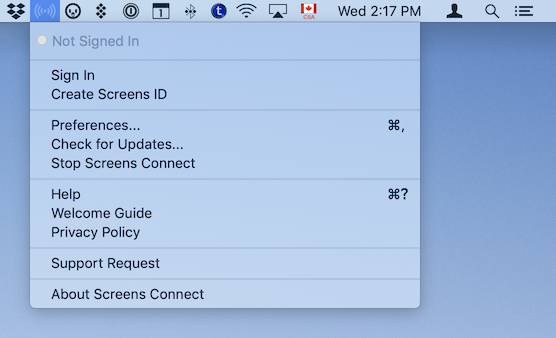
From the Screens Connect menu bar icon, select Sign In...:
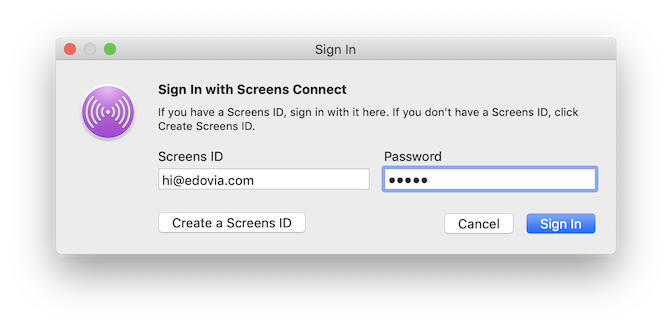
In the sign in window, enter your Screens ID and password:
On the Windows PCs you'll be connecting to
First, make sure that you've installed Screens Connect on the Windows PC you'll be connecting to.
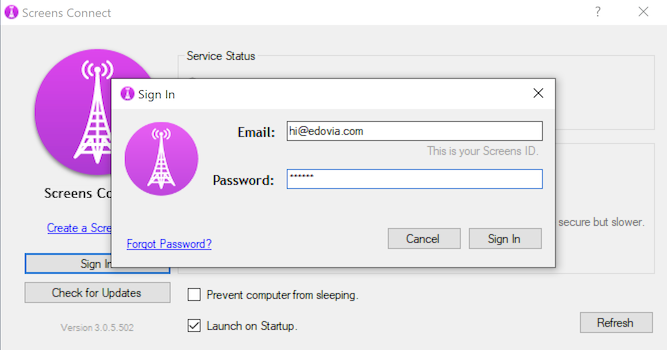
Double-click the Screens Connect icon in the system tray:
![]()
In the sign in window, enter your Screens ID and password:
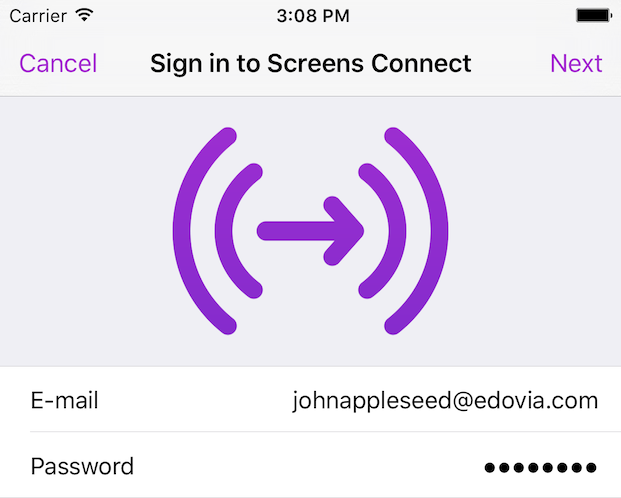
On the iOS devices you'll be connecting from
- Launch Screens.
- Tap the Settings (gear) icon.
- Select Screens Connect.
- Enter your Screens ID and password.
On the Macs you'll be connecting from
- Launch Screens.
- Go to the Screens app menu.
- Select Screens Connect > Sign In…
- Enter your Screens ID and password.
