Screens Assist 1.6 is recommended for macOS 10.13 to 12.3.
For macOS 12.4 or later, we recommend using Screens Assist 2 instead.
1. Download and Open Screens Assist
- Download Screens Assist (Requires macOS 10.13 High Sierra or later).
- Open the downloaded file from your Downloads folder.
2. Enable Screen Sharing (If Needed)
Screens Assist will check if Screen Sharing is enabled. If it's not, follow the steps below based on your macOS version.
macOS 10.13 High Sierra to macOS Monterey 12.2
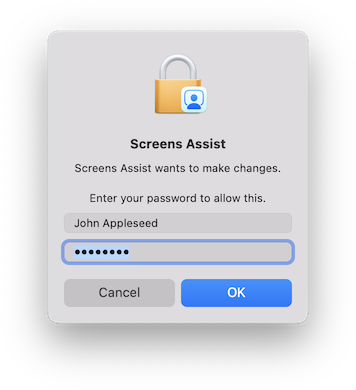
- Screens Assist will prompt you to allow it to make the necessary changes.
- Approve the request, and it will automatically configure the settings.
macOS Monterey 12.3 or later
- Apple requires manual activation of Screen Sharing.
- Click this link to open System Settings.
- Enable Screen Sharing.
- Click the ℹ️ button and enable Anyone may request permission to control the screen.
- If Screen Sharing is disabled, ensure that Remote Management is enabled instead.
3. Share Your Connection Link
Once Screens Assist is ready, it will generate a unique link.
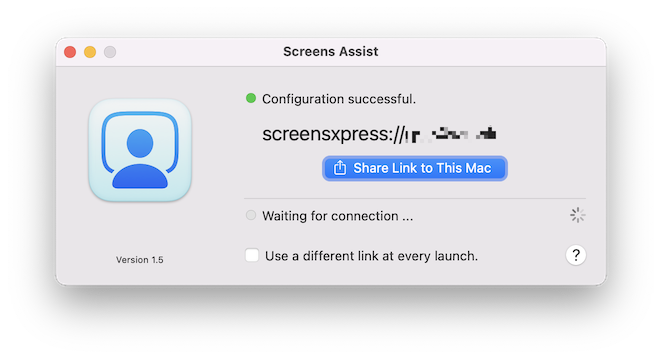
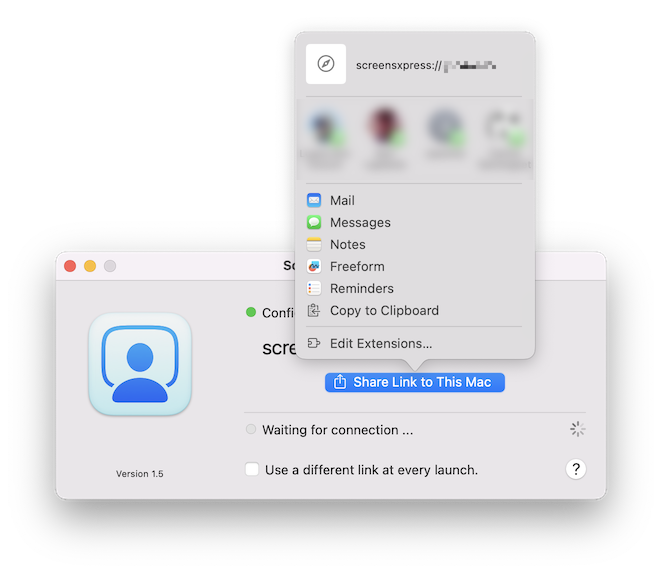
- Copy the link or use the Share button to send it.
- The person connecting to your Mac needs to open the link using Screens.
4. Accept the Connection
Once the recipient clicks the link from Screens, the connection will start, and Screens Assist will notify you.
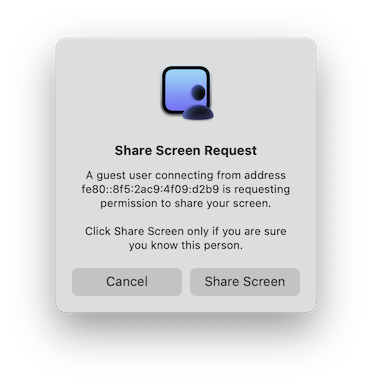
- Click Share Screen to allow the connection.
- The person will now have remote access to your Mac.
5. End the Connection
- To disconnect, quit the app or click Close to stop the session while keeping Screens Assist open.
- Screens Assist will ask for confirmation before ending the connection.
Troubleshooting
1. Ensure Screens Assist is Running
Screens Assist must be open for remote access to work. If closed, relaunch the app.
2. Check Your Internet Connection
Your Mac must be connected to a working network.
3. Grant Necessary Permissions
If prompted, enter your Mac’s password to allow Screens Assist to configure settings.
4. Accept Screen Sharing Requests
Click Share Screen when prompted to allow the connection.
5. Check Your Router Settings (If Needed)
Screens Assist may need to open a public port for remote access.
- If remote access isn't working, ensure UPnP is enabled in your router settings.
- To enable UPnP, log into your router and look for the Port Forwarding or UPnP section.
- If unsure, consult your router’s manual or ISP support.