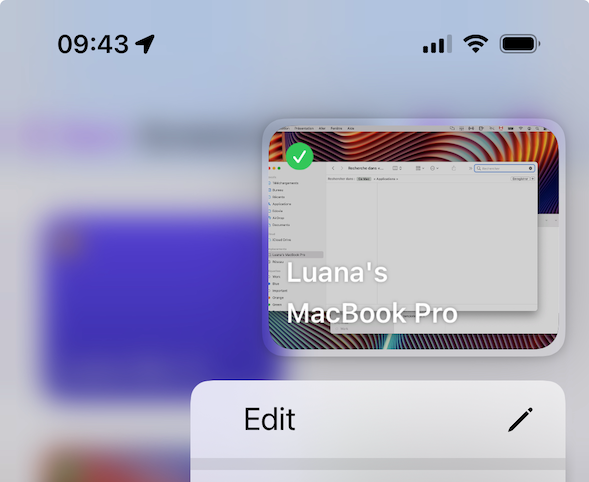
There are several ways to connect to a computer:
Via Screens Connect
If you’ve installed Screens Connect on your Mac or Windows PC, connecting remotely is easy whether you’re nearby or far away.
Sign in with your Screens Connect Account
Your Screens Connect Account links Screens and Screens Connect together. To connect to your computer, make sure to sign in with your Screens Connect Account.
- Tap or click the Sign in button
- Enter the email address and password for your Screens Connect Account
You can create your Screens Connect Account here if needed.
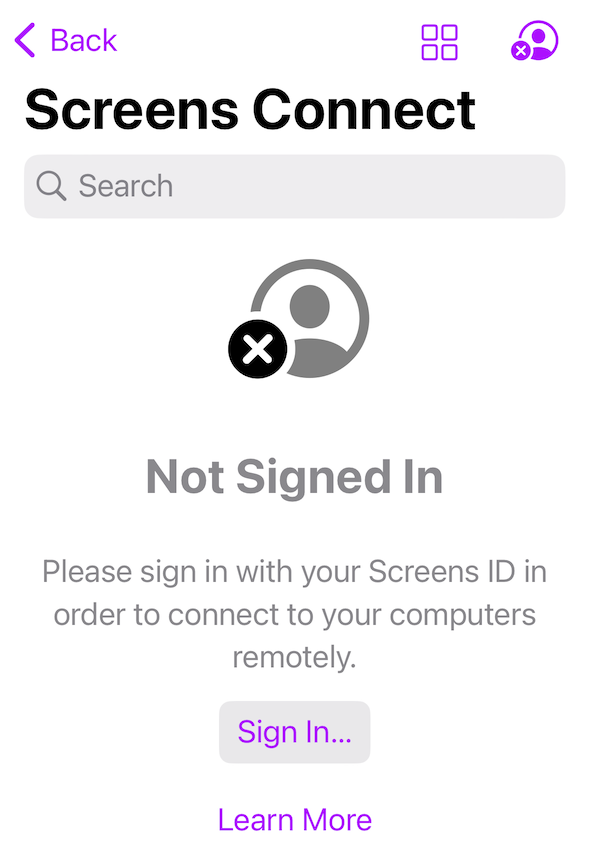
Once signed in, all computers running Screens Connect should appear.
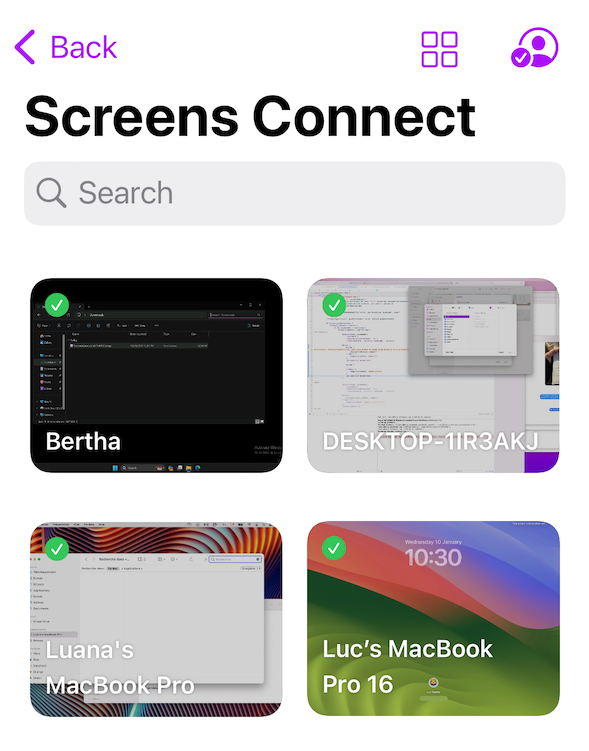
To launch a connection, simply tap (iPhone, iPad, Vision Pro) or double-click (Mac) on a screen.
Unregistering a Computer
To remove a computer from the Screens Connect list, press and hold (iPhone, iPad, Vision Pro) or right-click (Mac) on the computer, then choose Unregister.
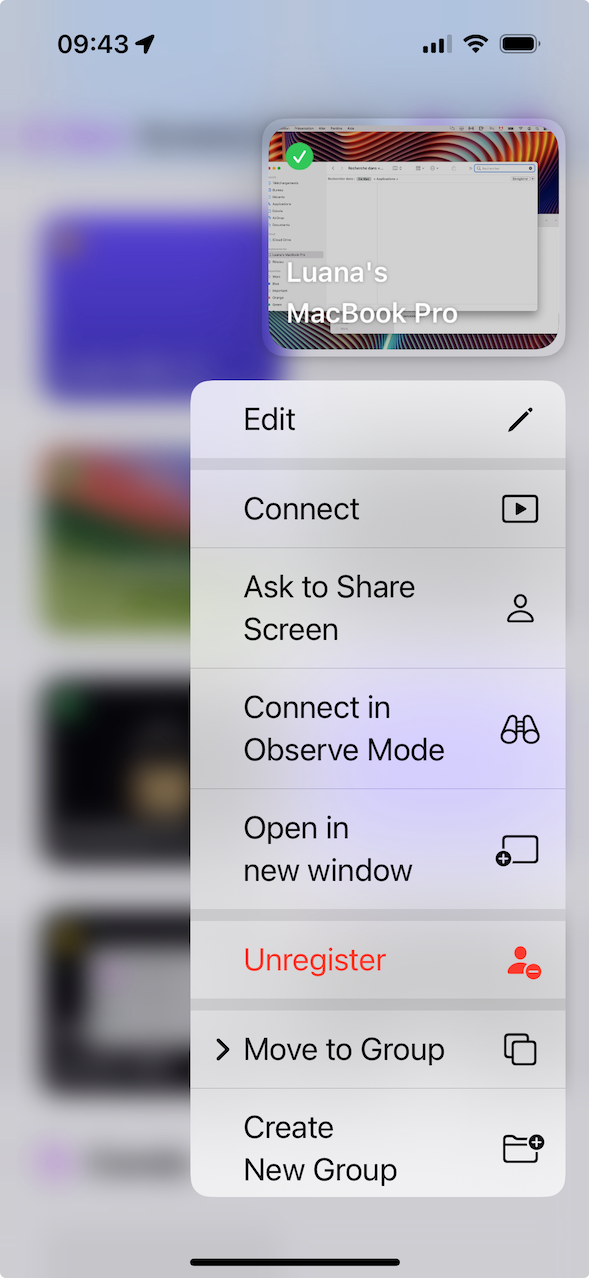
Note that unregistering a computer will make it unreachable, and you will need to sign in again with your Screen Connect Account on that computer.
Via Tailscale
Tailscale is a mesh VPN solution that simplifies network connectivity, allowing Screens 5 to provide seamless remote access without the need for complex port configurations. Detailed instructions on installing Tailscale and linking your account with Screens can be found in this article.
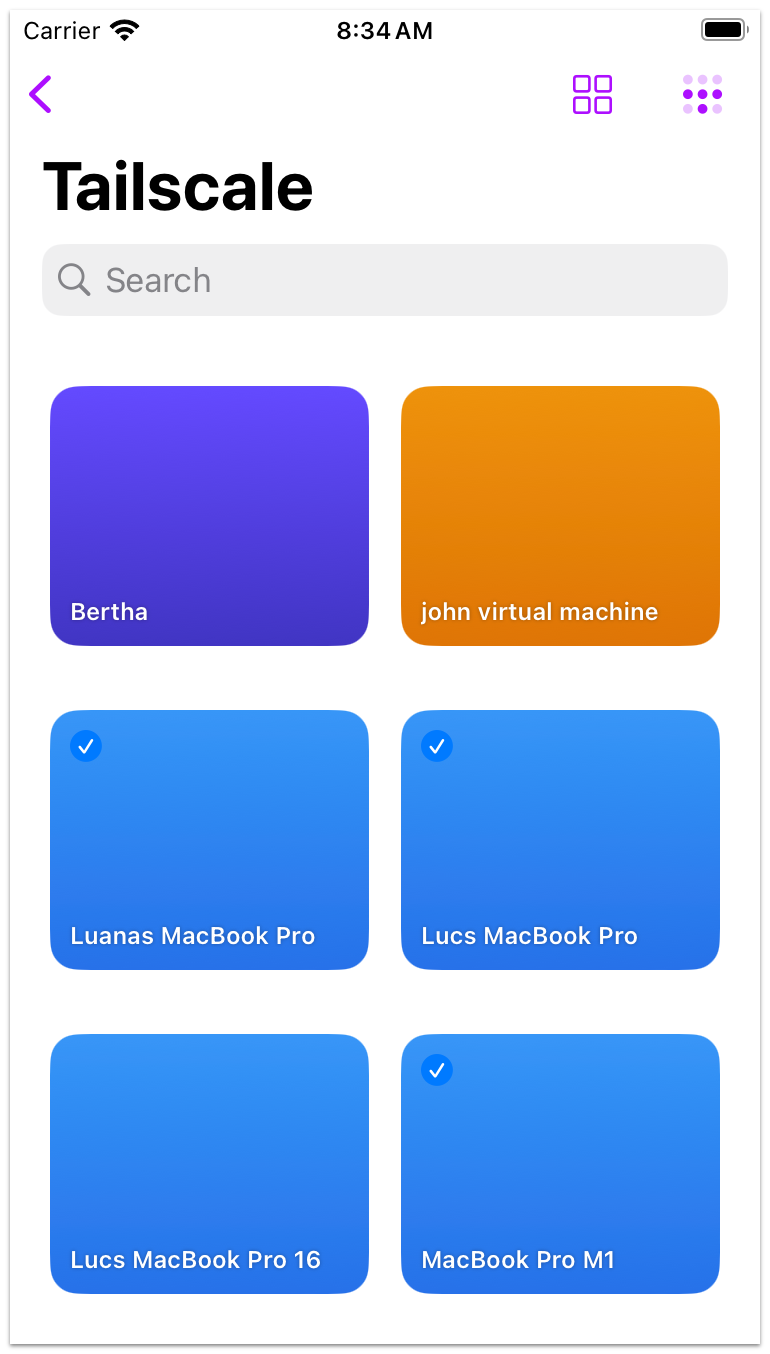
To launch a connection, simply tap (iPhone, iPad, Vision Pro) or double-click (Mac) on a Tailscale computer. You can also tap and hold (iPhone, iPad, Vision Pro) or right-click (Mac) on a computer to edit it or show more connection options.
To a Nearby Computer
Screens can identify Macs on the local network where Screen Sharing is enabled or PCs with an installed VNC Server that broadcast the service.
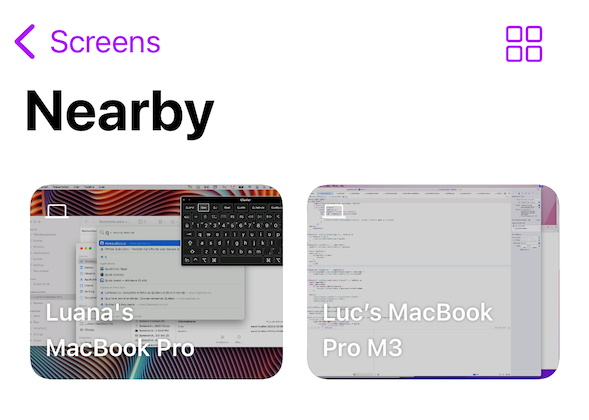
To launch a connection, simply tap (iPhone, iPad, Vision Pro) or double-click (Mac) on a nearby computer. You can also tap and hold (iPhone, iPad, Vision Pro) or right-click (Mac) on a computer to edit it or show more connection options.

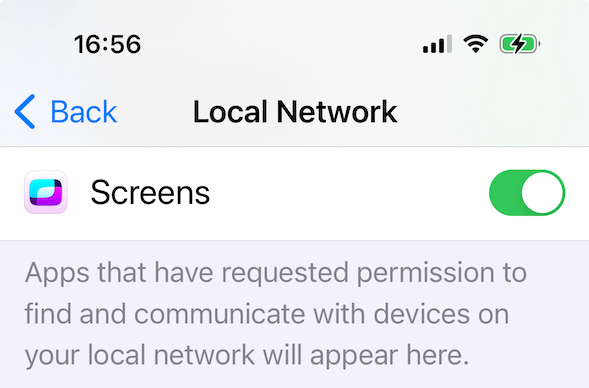
Enable Local Network Access (iPhone, iPad, Vision Pro)
Ensure that Screens has permission to access your local network. To verify this, go to the Settings app, select Privacy → Local Network, and enable access for Screens.
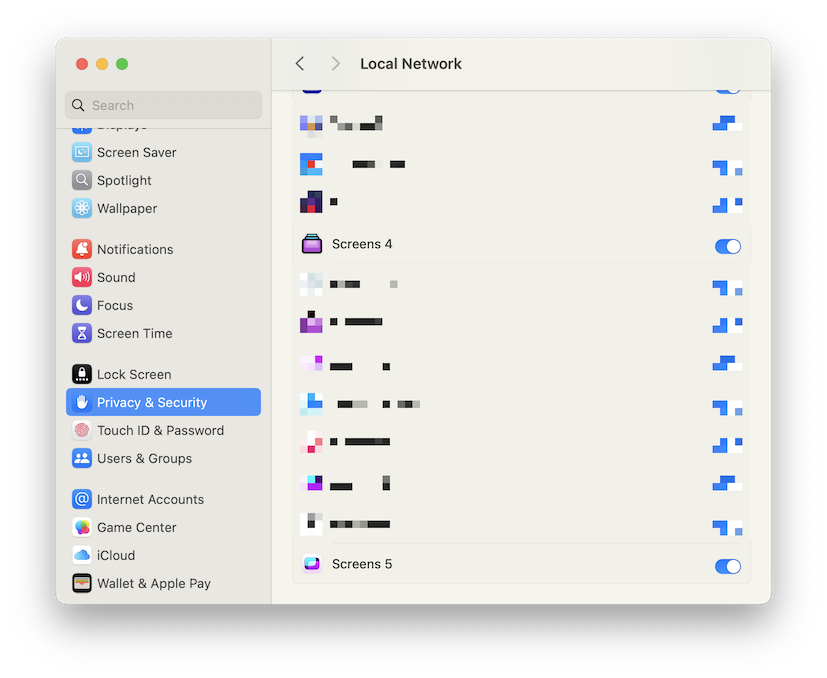
Enable Local Network Access (Mac)
Starting with macOS 15 Sequoia, new privacy measures require apps to be authorized to detect computers on your local network. To grant this access, open Settings, navigate to Privacy > Local Network, and ensure that Screens is enabled.
From a Custom Connection
If you choose not to use Screens Connect, use a custom URL, or aim to connect to a computer that doesn't broadcast a Screen Sharing (VNC) service, you will need to create a custom connection.
- In the Custom Connection section, choose either All Screens or an existing Group
- Click the button in the toolbar or press ⌘N
- Complete the connection information
- Navigate to the Security section if you prefer a secure connection (Remote Login or SSH server required)
- Optionally, visit the Controls section to further customize your saved connection
- Hit Save
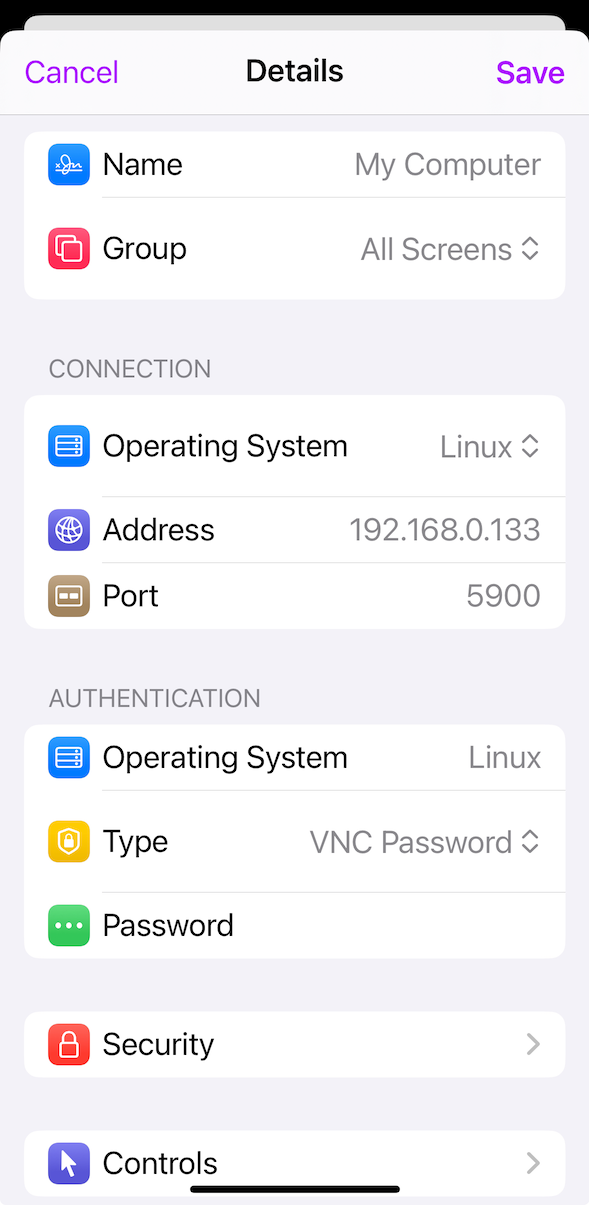
Then, tap (iPhone, iPad, Vision Pro) or double-click (Mac) on the newly created connection to initiate it.
From a URL
You can use the Quick Connect feature to manually input or paste a URL for initiating a connection.
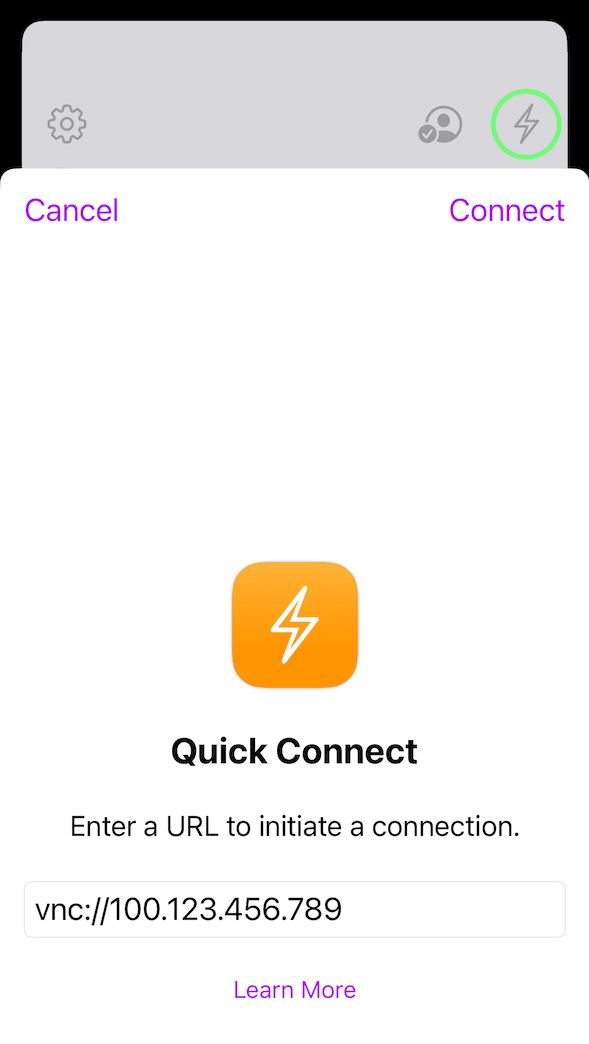
Tapping or clicking a supported URL scheme outside of Screens will automatically launch the app and start the connection. Refer to the URL Schemes article for more information.
From a Link
Simply tap (iPhone, iPad, Vision Pro) or double-click (Mac) on the desired item to initiate the connection.
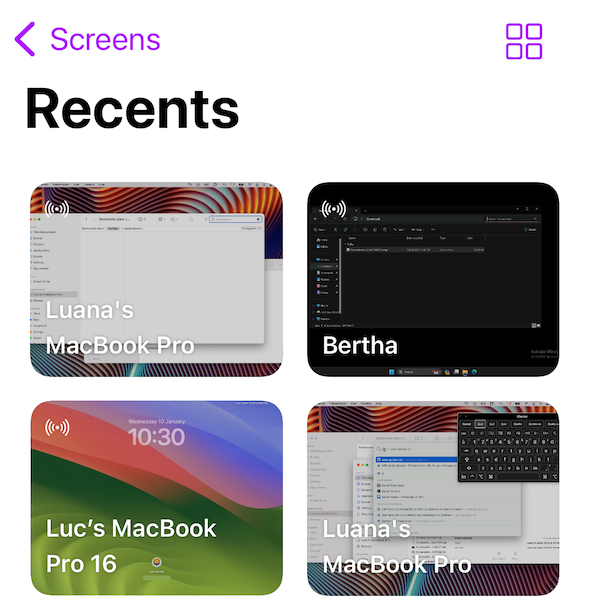
Connections established through a URL, Quick Connect, or via Screens Assist will be displayed here.
Editing a Connection
To modify a connection, press and hold (iPhone, iPad, Vision Pro) or right-click (Mac) on it to access editing options and additional connection settings.
